

In the age of digital photography, capturing that perfect shot has become more accessible than ever. However, the unfortunate reality is that even with advanced cameras and smartphones, blurry images are still a common problem. Whether due to camera shake, focus issues, or simply zooming in too much, a blurred image can ruin what might otherwise be a great photo. The frustration of seeing a potentially beautiful image marred by blur is universal, especially when it comes to photos with sentimental or professional value.
Fortunately, advancements in both traditional and AI-driven software have provided solutions to unblur images effectively. This guide will cover both manual methods, such as using Adobe Photoshop, and automated tools that are AI-powered which simplifies the process for users of all skill levels. By the end of this article, you’ll have a clear understanding of how to unblur zoomed images and prevent blurring in the future.

What Causes Images to Blur?
Before diving into the solutions, it’s important to understand the root causes of image blur. Blurring can occur due to several factors, each producing a different type of blur. Here’s a technical breakdown:
1. Camera Shake
Camera shake occurs when the camera moves while the shutter is open, causing the image to smear across the sensor. This is common in low-light conditions where the shutter speed is slower.
2. Motion Blur
Motion blur happens when the subject moves during the exposure time. This is often seen in action shots where the movement is too fast for the camera to freeze.
3. Out-of-Focus Blur
This type of blur occurs when the camera fails to focus properly on the subject. The result is a soft, unclear image that lacks sharpness.
4. Pixelation from Zooming
Zooming in too much, especially on digital devices, can cause pixelation, which appears as a blur when the image’s resolution is stretched beyond its limit.
Understanding these causes helps in choosing the right method to unblur your images. Different types of blur may require different techniques, especially when using manual methods like Photoshop.
Photoshop: A Traditional Tool for Unblurring Images
Adobe Photoshop has long been the go-to software for image editing, offering a variety of tools to correct blurring. While it requires some technical know-how, Photoshop allows for precise control over the unblurring process. Here’s a step-by-step guide on how to use Photoshop to unblur your images.
1. Open Image in Photoshop

Start by launching Photoshop and opening the blurred image you want to fix. This can be done by going to File > Open and selecting your image from your computer.
2. Duplicate the Layer

Always duplicate your background layer before making any adjustments. This allows you to preserve the original image. To duplicate the layer, right-click on the background layer in the Layers panel and select Duplicate Layer.
3. Apply Sharpen Filters
Photoshop offers several sharpening filters, but two of the most effective for unblurring images are Smart Sharpen and Unsharp Mask.
- Smart Sharpen: Navigate to Filter > Sharpen > Smart Sharpen. Here, you can adjust the Amount and Radius sliders to enhance the image’s sharpness. The Reduce Noise slider can also help in reducing graininess that often accompanies sharpening.
- Unsharp Mask: Go to Filter > Sharpen > Unsharp Mask. This tool enhances the contrast between pixels, effectively increasing the image’s sharpness. Adjust the Amount, Radius, and Threshold sliders until you achieve the desired result.

4. Adjust Layers
To refine the effect, you can adjust the layer’s opacity or use blending modes such as Overlay or Soft Light for a more natural look. This helps in controlling the intensity of the sharpening effect and ensures that the image does not look overly processed.
5. High Pass Filter (Optional)
For more advanced users, the High Pass filter is an excellent way to enhance edge details. To use this, duplicate the layer again, then go to Filter > Other > High Pass. Set the Radius to a low value (around 1-2 pixels). Change the layer’s blending mode to Overlay, which will bring out the fine details in the image.
6. Non-Destructive Editing with Adjustment Layers
Always consider using adjustment layers for non-destructive editing. This allows you to make changes without permanently altering the original image. You can add adjustment layers such as Brightness/Contrast or Levels to further enhance the image’s quality.
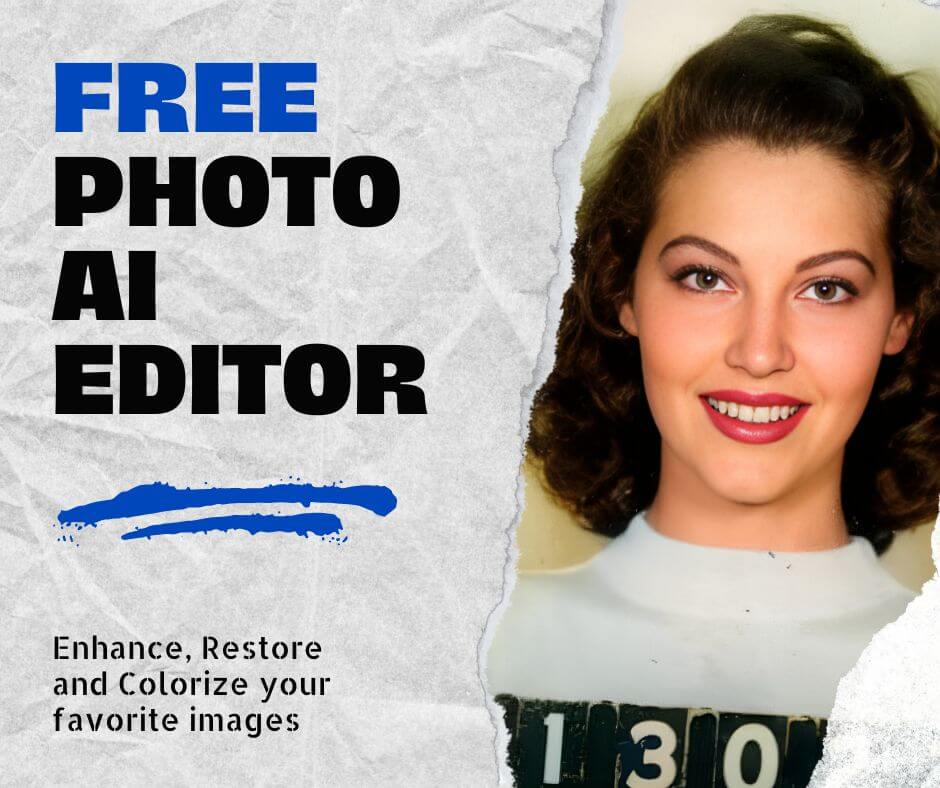
Face26: An Easy and Accessible Alternative
While Photoshop provides powerful tools for unblurring images, it can be complex and time-consuming, especially for beginners. This is where Face26 comes in—a user-friendly, AI-powered tool designed to make unblurring images as simple as possible.
1. Introduction to Face26
Face26 is an online platform that utilizes advanced AI algorithms to automatically detect and correct blur in images. Unlike Photoshop, which requires manual adjustments, Face26 streamlines the process, making it accessible to users with little to no photo editing experience.

2. Step-by-Step Guide to Using Face26
Using Face26 is straightforward and quick. Here’s how you can unblur your images with just a few clicks:
- Upload Image: Visit the Face26 website and upload the blurred image by clicking on the upload button. The platform supports a wide range of image formats.
- Automatic Enhancement: Once the image is uploaded, the AI gets to work, analyzing the image for blur and applying the necessary corrections automatically. The process typically takes only a few seconds.

- Review and Download: After the enhancement is complete, you can preview the unblurred image. If satisfied with the result, simply download the high-resolution version to your device.
3. Benefits of Using Face26

- Speed: The entire process, from upload to download, takes just a few seconds, making it ideal for users who need quick results.
- Ease of Use: No technical skills are required. The AI handles all the complexities, providing a hassle-free experience.
- Accessibility: Face26 is available online, meaning you can unblur images from any device with an internet connection, without the need for expensive software.
Preventive Measures to Avoid Blurry Photos
While knowing how to unblur images is useful, preventing blur in the first place is even better. Here are some practical tips to help you take sharper, clearer photos:
1. Camera Settings
- Shutter Speed: Ensure your shutter speed is fast enough to freeze motion. A general rule of thumb is to use a shutter speed that is 1/60th of a second or faster, depending on the situation.
- ISO: Use a higher ISO setting in low-light conditions to allow for a faster shutter speed. However, be cautious, as higher ISO can introduce noise.
2. Use a Tripod or Stabilizer
A tripod or a stabilizer can significantly reduce camera shake, especially in low-light situations or when using long exposures. There are also compact, portable stabilizers available for smartphones.
3. Lighting
Good lighting can make a huge difference in the sharpness of your images. Natural light is often the best option, but if you’re shooting indoors, consider using additional light sources to reduce the need for slow shutter speeds.
Mobile Solutions for Unblurring Images
If you often take photos with your smartphone, there are several mobile apps designed to unblur images directly on your device. These apps are particularly useful for on-the-go editing.
Benefits of Mobile Solutions
- Convenience: These apps allow you to edit and unblur images anywhere, anytime, directly from your smartphone.
- Real-Time Corrections: You can quickly fix any blurriness as soon as you notice it, making mobile solutions ideal for social media posts and sharing on-the-go.
Blurry images are a common problem, but with the right tools and techniques, they don’t have to be a permanent issue. Whether you choose to use a traditional method like Photoshop for detailed control or opt for the simplicity and speed of Face26, there are effective solutions available for unblurring your photos.
Prevention is always better than cure, so taking steps to avoid blurriness while shooting is essential. However, when blur does occur, you now have the knowledge to fix it quickly and effectively, using both manual and automated methods.
Remember, the key to great photography is not just in capturing the moment, but in ensuring that moment is as clear and sharp as possible.
FAQs
- Can all types of blur be corrected?
Not all types of blur can be fully corrected. Tools like Photoshop and Face26 can significantly improve the clarity of an image, but some extremely blurred images may only be partially recoverable. The effectiveness depends on the severity and type of blur. Motion blur and out-of-focus blur are often more challenging to fix completely compared to slight camera shake.
- Is Face26 free to use?
Face26 offers both free and premium versions. The free version allows you to unblur images with basic resolution, which is sufficient for most casual users. However, for higher resolution downloads and access to advanced features, you may need to upgrade to the premium version.
- How long does it take to unblur an image using Face26?
The entire process, from uploading the image to downloading the unblurred version, typically takes only a few seconds. The speed of the process may vary slightly depending on the size of the image and the speed of your internet connection.
- Are there limitations to using mobile apps for unblurring?
While mobile apps like Snapseed and Remini are convenient and effective for minor blurs, they may not offer the same level of control and precision as desktop software like Photoshop or specialized AI tools like Face26. Additionally, the processing power of mobile devices can limit the quality of results for very high-resolution images.
- What should I do if the image remains blurry after using these tools?
If an image remains blurry after using unblurring tools, consider trying different methods or software. Sometimes, combining multiple techniques (e.g., using both Photoshop and an AI tool) can yield better results. However, in some cases, the image may be too blurred to fully recover, and it may be worth exploring creative alternatives like cropping or applying artistic effects.


