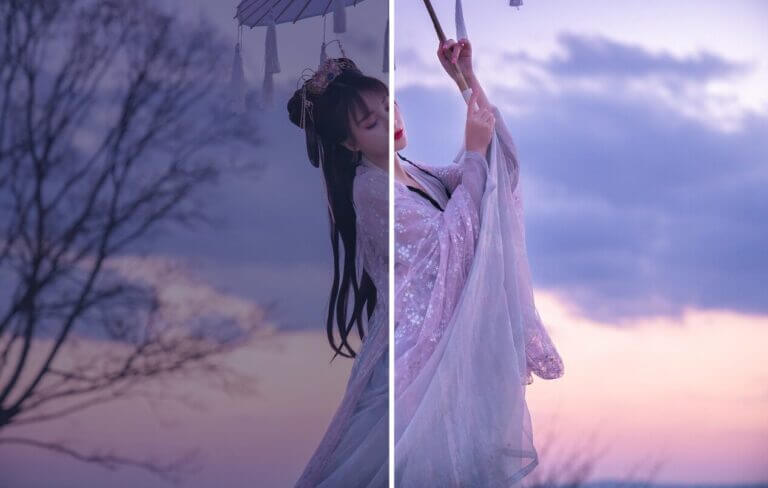
Have you ever taken a photo that looked amazing in person, only to be disappointed by the lackluster lighting when you reviewed it later? Maybe the image appears dark and shadowy, or washed out with harsh highlights. Don’t despair! Even if you weren’t blessed with perfect lighting conditions while shooting, this guide will be your roadmap to fix lighting in photos.
Whether you’re a seasoned photographer or just starting your journey, this comprehensive resource will equip you with the knowledge and tools to transform those dull photos into vibrant and captivating images.
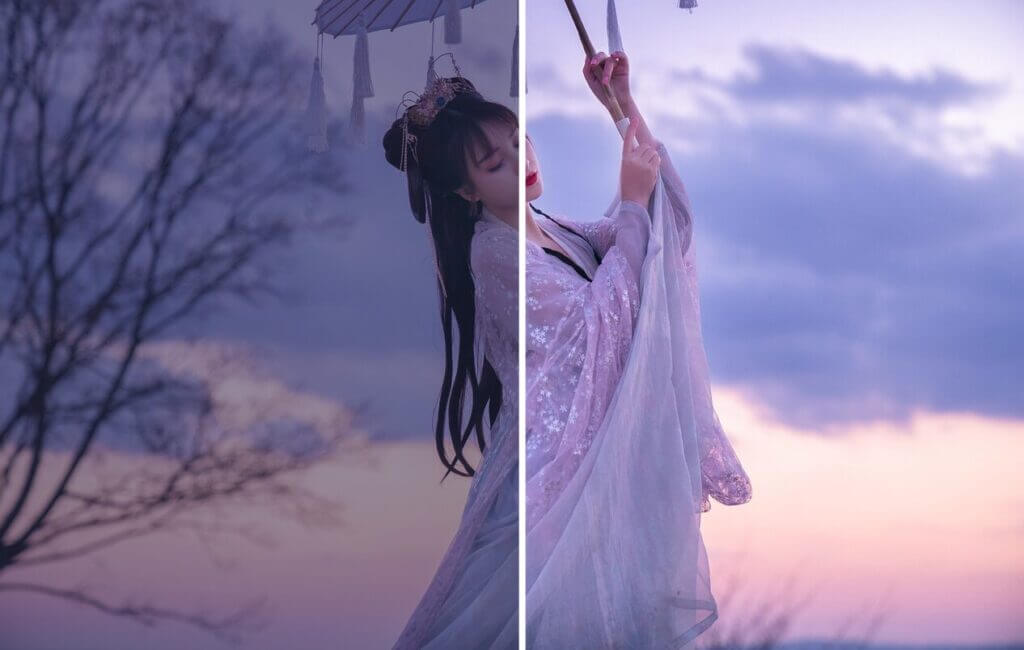
The Importance of Lighting
Lighting is more than just illumination; it’s the very essence of visual storytelling. It defines the mood, sets the atmosphere, and guides the viewer’s eye throughout the composition. Here’s why mastering lighting is crucial for photographers of all levels:
- Clarity and detail: Good lighting ensures that your subject is clearly visible, with well-defined features and textures.
- Depth and dimension: Lighting creates a sense of depth in your photos by highlighting certain areas and letting others fade into the background.
- Mood and emotion: Lighting can evoke a wide range of emotions, from the tranquility of a soft sunrise to the drama of a harsh spotlight.
Common Lighting Issues
Even with careful planning, unexpected lighting situations can arise. Here are some of the most common lighting problems that photographers encounter:
- Overexposure: Occurs when the sensor captures too much light, resulting in a washed-out image with clipped highlights (areas with lost detail due to excessive brightness).
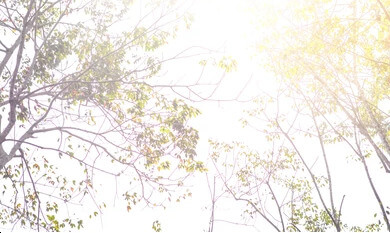
- Underexposure: Happens when the sensor doesn’t capture enough light, leading to a dark image with obscured details in the shadows.
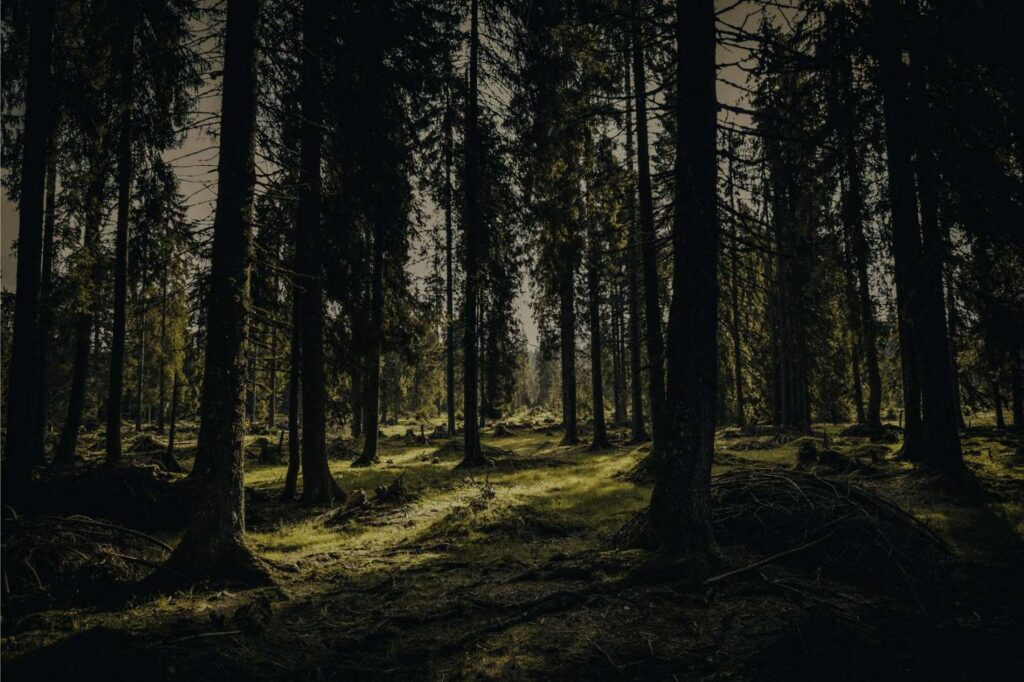
- Harsh shadows: Direct sunlight or bright studio lights can create unflattering shadows that distract from the subject.
- Uneven lighting: Inconsistent lighting across the scene can make the image appear unbalanced and disjointed.
These issues can significantly impact the quality of your photos.
Tools and Techniques for Fix Lighting in Photos
The good news is that many tools and techniques are available to fix bad lighting in photos.
- Automatic Lighting Correction: Many photo editing software programs offer automatic lighting correction tools that can adjust brightness, contrast, and shadows with a single click. While this is a convenient option for quick fixes, it may not always provide the most precise results.
- Manual Adjustments: For more control, you can use manual adjustments in your photo editing software. These typically include tools for adjusting brightness, contrast, shadows, highlights, and exposure. By fine-tuning these settings, you can achieve a more natural and balanced look.
- AI-powered tools: AI (Artificial Intelligence) is revolutionizing photo editing, and tools like Face26’s AI photo enhancer feature leverage this technology to automatically analyze and enhance your photos. These tools can often provide superior results compared to traditional methods, particularly in complex lighting scenarios.
Using Automatic Lighting Correction Tools to Fix Bad Lighting in Images
Most photo editing software offers automatic lighting correction with a user-friendly interface. While the specific steps may vary slightly depending on the program, here’s a general guide:
- Open your photo in your chosen editing software.
- Locate the automatic lighting correction tool. This might be named “Auto Enhance,” “Auto Levels,” or something similar.
- Apply the correction. Most software allows you to apply the correction with a single click.
- Evaluate the results. Automatic correction is a good starting point, but it may not always be perfect. You can often fine-tune the results using manual adjustments
Automatic lighting correction, while convenient, can sometimes produce unnatural-looking results, especially in complex lighting situations. For the absolute best results, some software offers more advanced AI-powered tools like Face26. These tools can often produce superior lighting corrections and other enhancements compared to basic automatic tools
Fix Lighting Using AI Based Tools like Face26

Here’s how to leverage the power of AI to fix lighting in photos with Face26:
- Go to Face26.com
- Choose the “AI Photo Enhancer” option: You’ll see various enhancement options available. Select “AI Photo Enhancer” to specifically address lighting issues.
- Upload your photo: Click the “Upload Photo” button and select the photo you want to edit.
- Enhance your photo: Face26’s AI will automatically analyze your photo and apply intelligent adjustments to improve the lighting.
- Download the results: Once satisfied with the enhancement, download the improved photo to your device.
Advanced Techniques in Lighting Adjustment
Once you’ve mastered the fundamentals of lighting correction, you can explore more advanced techniques to truly transform your photos. Here are some powerful tools to add to your arsenal:
- Relighting Techniques: Relighting allows you to virtually change the lighting in your photo, altering the mood or even the time of day. This technique involves using tools to selectively adjust shadows, highlights, and colors to create a new lighting scenario. For example, you could turn a harsh midday scene into a soft, golden sunset.
- Balancing Color Temperature: Color temperature refers to the “warmth” or “coolness” of the light in your photo. Ideally, you want a natural-looking color balance. Many photo editing software programs offer tools to adjust color temperature, allowing you to correct for artificial lighting or create a specific mood.
How Corrected Lighting Enhances Photography in Various Fields
Lighting correction is valuable across various photography genres. Here are some examples:
- Portrait Photography: Well-balanced lighting flatters your subjects and brings out their features. You can use lighting correction to soften harsh shadows or brighten underexposed eyes.

- Landscape Photography: Lighting can dramatically impact the mood and atmosphere of a landscape. Correction tools can help you recover detail in sunlit areas or enhance the drama of a cloudy sky.

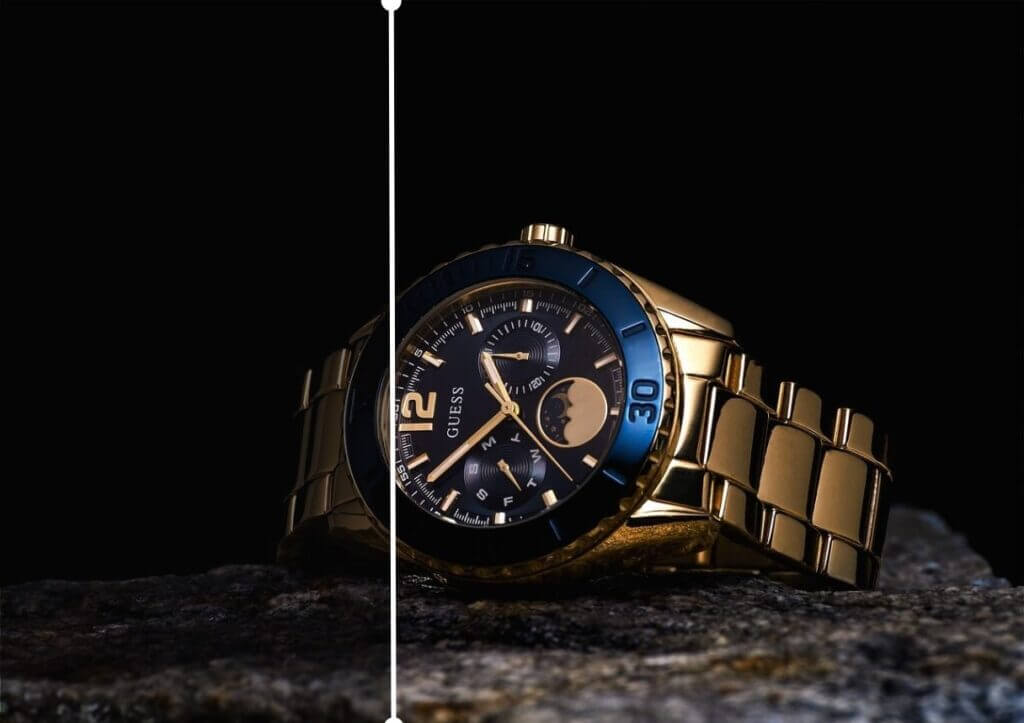
- Product Photography: Accurate color reproduction and even lighting are crucial for product photography. Lighting correction ensures your products look their best.
By mastering lighting correction, you’ll elevate your photography in any genre.
Practical Tips for Shooting with Optimal Lighting
While powerful editing tools can significantly improve your photos, capturing well-lit images in-camera is always ideal. Here are some practical tips to consider:
- Utilize Natural Light: Whenever possible, harness the power of natural light. Early mornings and late afternoons often offer the most flattering light, with softer shadows and a warm glow.
- Diffuse Harsh Light: If you’re shooting in midday sun, try diffusing the light with a sheer curtain or white fabric. This will soften harsh shadows and create a more even illumination.
- Bounce Light: Use a reflector to bounce light back onto your subject, especially in situations with flat lighting. This can be a simple white board or even a piece of aluminum foil.
- Experiment with Flash: Flash can be a valuable tool, but use it strategically to avoid harsh shadows and washed-out highlights. Consider bouncing the flash off a wall or ceiling for a softer effect.
- Embrace the Golden Hour: The “golden hour” refers to the first hour after sunrise or the last hour before sunset. This time period offers beautiful, warm light that is perfect for photography.
Avoiding Common Lighting Mistakes
By being mindful of these common pitfalls, you can minimize the need for extensive editing later:
- Shooting Directly into the Sun: Direct sunlight can create harsh shadows and lens flare. Try positioning yourself or your subject at an angle to the sun.
- Backlighting: Backlighting can create a dramatic effect, but it can also leave your subject in shadow. Consider using a fill flash or a reflector to balance the light.
- Neglecting White Balance: White balance ensures accurate color reproduction in your photos. Set your white balance according to the lighting conditions (e.g., sunlight, fluorescent light) for natural-looking colors.
In conclusion, this guide has transformed you from a spectator to an artist when it comes to lighting in your photos. With the newfound knowledge of common lighting issues and the tools to tackle them, you can bring your photos to life. Remember, while editing software offers a safety net, strive to capture well-lit images in-camera using natural light, diffusers, reflectors, and strategic flash. Don’t hesitate to leverage the power of AI-assisted tools like Face26’s AI photo enhancer for that extra edge. With dedication and this guide as your compass, you’ll be mastering the art of lighting correction and creating truly captivating photographs.
Frequently Asked Questions
How do I adjust lighting in photos?
Use photo editing software’s automatic lighting correction or adjust brightness, contrast, shadows, and highlights manually. Try Face26’s AI photo enhancer tool for a quick one-click fix!
How to take well-lit photos?
Shoot in natural light (early mornings/evenings) or use a diffuser for harsh light. Bounce light with a reflector for better control.
How to improve lighting in existing photos?
Use editing software like Photoshop or Lightroom to manually adjust lighting. Alternatively, try Face26 for fast, automatic enhancements.
How to fix backlit photos?
Options include using fill flash, adjusting exposure, or employing editing software. For swift correction, Face26’s Fix Lighting feature efficiently balances backlighting in photos.
How to fix a photo that’s too bright?
In editing software, reduce exposure and adjust highlights. For a simpler solution, Face26’s Fix Lighting tool provides automatic adjustments for better-balanced brightness in photos.
