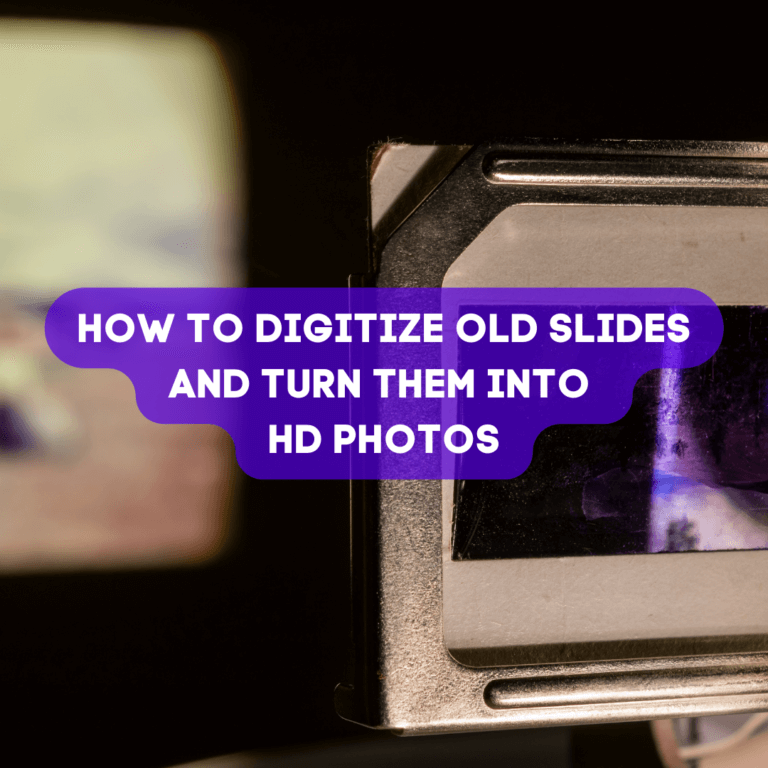


Do you want to dig through a lot of photo albums, trying to find the right picture to show your friends and family? Do you have piles of old slides collecting dust in your attic? Well, it’s time to bring those memories back to life by digitize old slides and turning them into beautiful HD photos!

Old slides are small, transparent images that were commonly used in the past to capture memories. Those memories are deeply embedded in our hearts, marking a period in our lives we cherish. However, these slides can fade, discolor, or even get lost over time, leaving us with no way to revisit those memories. As the famous American photographer Ansel Adams once wrote: “Photography is more than a medium for the factual communication of ideas. It is a creative art.”

Digitizing old slides is the process of converting these physical slides into digital images, allowing us to preserve and share our memories for years to come. This process not only ensures that our memories are safe for years to come but also makes it easier to access and share them with others.
In the following sections, we will guide you through how to digitize old slides and turn them into HD photos. So, let’s get started!
Preparing to digitize old slides
Gather the necessary equipment
Before you start the process of digitizing your old slides, it’s imperative to gather the necessary equipment. You will need a slide scanner, a computer, and image editing software. You can purchase a slide scanner online or rent one from a local photography store. For instance, if you don’t want to invest in a scanner, you can rent a scanner from a store for about $50 for a two-day rental period.
Prepare the slides
Once you have the necessary equipment, you will need to prepare your slides for scanning. To begin, use a soft-bristled brush or compressed air to remove any dust or debris from the slides. This will ensure that the final digital image is free of any unwanted particles or marks.
It’s also essential to organize your slides before scanning them. You can sort them by date, event, or theme to make it easier to find specific images later on. Consider using labeling or numbering systems to keep track of which slides have been scanned.
Cleaning the slides
Lastly, make sure to clean the slides properly before scanning them. You can use a microfiber cloth or lens cleaner to remove any fingerprints or smudges. This will ensure that the final digital images are of high quality and clarity.

By taking the time to gather the necessary equipment, organize your slides, and properly clean them, you will ensure a successful and efficient digitization process. Now, let’s move on to the next step in the process: scanning the slides.
Scanning the slides
Now that you have prepared your old slides for digitization, it’s time to start scanning them. But before you begin, you will need to choose the right scanner for the job.

Choosing the right scanner
There are various types of scanners available on the market, but you will need a slide scanner that is specifically designed to scan slides. These scanners come in different sizes and resolutions, so make sure to choose one that fits your specific needs.

Scanning the slides
Once you have selected the right scanner, it’s time to start scanning your slides. Place the slides into the scanner’s tray, making sure they are all facing the right way. The scanner will then capture an image of each slide, and save it to your computer.
Adjust the scanner settings
It’s a must to adjust the scanner settings to ensure the highest quality image possible. This includes adjusting the resolution, brightness, and contrast. It’s also an excellent idea to preview each slide before scanning to ensure that it is positioned correctly.
Remember to save each digital image with a descriptive file name, so you can easily find and organize them later on.
By choosing the right scanner, scanning your slides correctly, and adjusting the settings, you will be able to create high-quality digital images that accurately represent your old slides. Now, let’s move on to the next step: editing the digital images.
Editing the digital images
After you have scanned your old slides, you will have a collection of digital images that need to be organized and edited. Here are some tips for editing your digital images to create stunning HD photos.
Organizing the images
Before you start editing, it’s worthwhile to organize your digital images properly. You can create folders based on themes or events and give each image a descriptive name. This will make it easier to find and use the images later on.
Basic editing techniques
Start by using basic editing techniques to enhance the quality of your images. This includes adjusting brightness, contrast, and color balance. You can also crop the images to remove any unwanted areas or distractions. Don’t be afraid to experiment with different settings until you find the perfect look for your image.
Advanced editing techniques
If you want to take your digital images to the next level, try using advanced editing techniques. This includes using photo editing software to remove blemishes, adjust skin tone, and even add special effects or filters. You should, however, be careful not to overdo it, as too much editing can result in an unnatural look.

Remember to save your edited images in a high-resolution format, such as JPEG or TIFF, to ensure that they look great when printed or displayed on a screen.
By organizing and editing your digital images, you can turn your old slides into stunning HD photos that can be cherished for years to come. Now, let’s move on to the final step: saving and sharing your images.
Saving and Sharing the Images
After you have digitized and edited your old slides, it’s time to save and share your newly created HD photos. These tips will help you choose the right file format, save your images, and share them.
Choosing the Right File Format
When it comes to saving your digital images, it’s important to choose the right file format. The most common file formats for HD photos are JPEG and TIFF. JPEG is an excellent option for online sharing and easy storage, while TIFF is ideal for high-quality printing.
Save the images
Once you have chosen the right file format, it’s time to save your images. Make sure to save them in a location that is easy to find and access. You can also create backups to ensure that your images are safe in case of any data loss.
Sharing the images
Now that your images are saved, it’s time to share them with others. You can share your images on social media, email, or even create a digital album to share with family and friends. You can also print your images and create physical albums or framed prints.
It’s important to always give credit to the original photographer when sharing images that are not your own. This can be done by adding a watermark or by including a photo credit in the image caption.
By following these tips for saving and sharing your images, you can ensure that your new HD photos are preserved and enjoyed for years to come. Now, let’s move on to the conclusion.
Conclusion
Digitizing old slides is an excellent way to preserve memories and turn them into high-quality HD photos. Using the steps mentioned in this guide, you can do a quick and easy digitization of your old slides and create stunning digital images which can be accessed, shared, and stored easily.
Benefits of digitizing old slides
Digitizing old slides has several benefits. First, it allows you to preserve memories that may otherwise be lost due to the deterioration or loss of physical slides. Second, digitized images are much easier to access and share with others, especially in the age of digital communication. Lastly, digitized images can be edited and enhanced to create stunning digitized photos that can be enjoyed for years to come.
Final Thoughts and Recommendations
Digitizing old slides can be a time-consuming process, but it is well worth the effort. Whether you choose to do it yourself or hire a professional service, the result is a collection of memories that can be preserved and enjoyed for generations to come.
If you’re planning to digitize old slides, make sure to invest in a high-quality scanner, take the time to clean and prepare your slides properly, and experiment with different editing techniques to enhance the quality of your digital images. Lastly, make sure to store and share your images in a safe and accessible location. This will enable them to be enjoyed by your family and friends for years to come.
In conclusion, digitizing old slides is a fun and rewarding way to preserve memories and create beautiful high-quality HD photos. Our goal with this guide is to make your digitization project as easy and enjoyable as possible. This guide is intended to be a useful tool which we hope you will find useful.


